
Middle Split Oversplits: A Primer on Technique
Middle Split Oversplits: A Primer on Technique
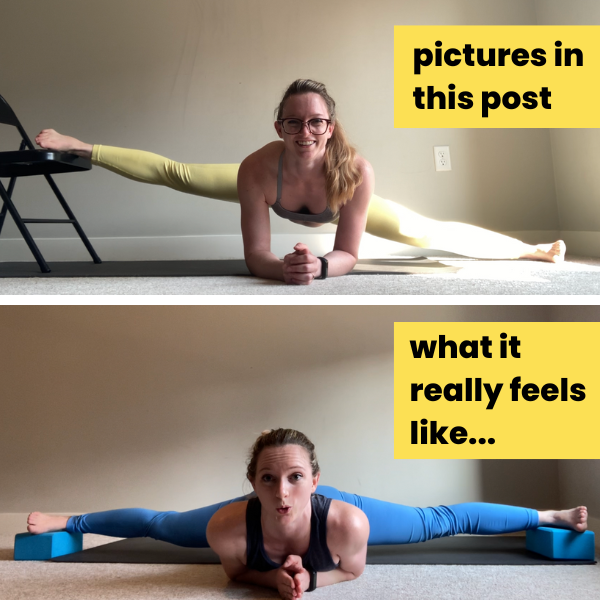
I’m not going to lie - I have a love/hate relationship with middle oversplits. I love how big a difference they can make in how comfortable my “regular” middle splits feel. But I hate how the oversplits feel when I practice them (personally, I think they’re hard AF compared to front leg oversplits, but that’s how I’ve always felt about middle vs. front splits). But despite them being an exercise I minorly dread, I think they’re an important tool for students who have very middle split-y aspirations. Just like with front splits and front oversplits, middle oversplits can be a sneaky way for students who are oh-so-close-to-flat to challenge their hips a tiny bit more to help them touchdown.
Who Can/Should Be Working on Middle Oversplits?
Oversplit work for middle splits (including frogger variations) are best for students who:
already have a flat middle split (duh)
OR are close to flat, with hips just an inch or two off the ground, calves touching the floor
I find them especially helpful for that second group of students - so if you feel like your middle split training has plateaued and you can’t quite close the last inch or two of space between your hips and the floor, give oversplits a try!
If your middle splits aren’t as close-to-flat, stick with good ol’ active flexibility drills like these to keep working on your inner thigh and glute strengthening to widden/flatten your middle splits.
Tips for Protecting Knees & Hips When Adding Blocks to Middle Splits
Oversplits can be exceptionally challenging on our hip and knee joints precisely because they encourage an extreme range of motion. Remember, stretching should never hurt, so if you experience hip or knee pain, then ease up on the stretch until you can work in a pain-free zone.
Keeping Knees Safe
Block Placement Matters

Let’s start with the more common complaint: knee pain when elevating a leg in an oversplit. Just like knee pain in a regular middle split, there can be several potential causes of the discomfort. Side note - if you typically experience knee pain when working in regular middle splits, figure out how to solve that first before diving into oversplit work!
One of the easiest ways to keep oversplits gentler on your knees is by placing your yoga block closer to your knee instead of under your foot. This reduces some of the shearing force of the weight of your legs pressing inside of your knee towards the floor (which is not a direction your knee is meant to bend!). As you get stronger, you can move the block farther down your leg, eventually practicing with the block under your foot.
This block position can apply to any of your middle split-y positions (frogger, half frogger, full middle splits, and straddles too!) and any height of blocks.
Squeeze All The Things!

The other major thing that helps is learning to engage the surrounding muscles to protect your knee. Depending on your body, this might mean engaging different muscles!
For most people, I find engaging the quads generally helps - your quads are one of the strongest muscle groups when it comes to acting on your knee. I like to start with a quad engagement drill with my inner thighs elevated on a block or two to help my quads start to fire in a middle split position similar to the oversplit I’ll be practicing.
But for other people, weak/unengaged quads are not a problem. If that doesn’t seem to help, try engaging your inner thighs by lightly pushing your leg down toward the floor (while it’s in a stretched/lengthened position). Alternatively, you can try engaging your abductors (your glutes!) by imagining you are going to lift the outside leg you’re stretching away from the floor. If either of those help - that should give you an idea of the muscles in your hips that could probably use some extra conditioning work!
And if none of those three engagements seem to help, it make be worthwhile to talk with a coach or physical therapist to help “problem solve” your unique situation.

Keeping Hips Happy
Variations in individual hip anatomy can change how middle splits and straddles feel in different bodies. The important thing to be aware of is being mindful that the sensations you feel when you stretch feel like a muscle stretch and don’t feel like pinching or blockage or a hard limit which can be a sign that the greater trochanter of the femur (the boney bulge at the top of your thigh bone that sticks out to the side of your hips) is getting crunched against your hip bone.
When we have a boney blockage, no amount of stretching or pushing through that discomfort will be productive. Instead, you can experiment with slightly tucking or tilting the pelvis. For most students, adding some slight extra external hip rotation (or anterior pelvic tilt in relation to your thighs) can help give the femur more room in the hip to open out to the side before bone-hits-bone and it’s game over.
Just be careful not to over tilt your pelvis to compensate, arching too much in our low back and resting our chest on the floor basically turns our over middle split into a weird straddle pancake, and is no longer the same stretch. So try to keep your chest lifted, hip points reaching towards the floor.
Suggested Middle Oversplit Progression
Obviously start with a serious warm up. This “progression” isn’t meant to be a full stretching routine, but rather suggestions for how to focus on your middle splits once you’ve gotten appropriately warm.
Start Small! Work on Half Middle Split Oversplits

Starting in a “half frogger” (aka “half middle split” position is a great way to ease your hips into the oversplit game. Half frogger is nice because only one knee is straight, and you can really focus on finding the proper engagement your particular body likes/needs to keep your knee happy while in a slightly easier version of a middle split.
Experiment with:
block placement (closer to the knee vs. under the foot)
muscle engagement (squeezing your quads vs. squeezing your glutes vs. squeezing your inner thighs)
gentle hip mobilizations like forward-and-backward rocks, or pelvic tilts
Up the Ante: One-Sided Middle Oversplits
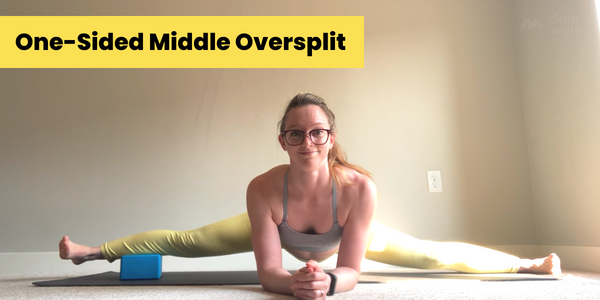
If adding a block to your straight leg in a frogger stretch feels comfortable, it’s time try adding a single block to your regular middle split.
You can either place the block under your foot/shin, then slide your other leg out into your middle split, or you can start in a seated straddle with the block under your calf or heel, and roll forward into your oversplit.
The Big Kahuna: Full Middle Split Oversplits

If knees and hips are still feeling good with a single block over middle split, you’re ready to try one block under each foot!
The best way I’ve found to get into this is to start in a seated straddle with your legs open as wide as you can. Put blocks under each calf (or heel). Keep your feet flexed (especially if the blocks are under your feet!) is you lean forwards, lift your butt, and roll into your over middle split.
Remember, you can adjust you blocks if this feels intense on the knees! Try both blocks a little closer to your knees (don’t worry if that means your feet stay on the floor).
Next Steps: Keep Adding Height!

As you get stronger, more flexible, and more comfortable working on your one block middle split variations, you can start adding more height. That could mean stacking more yoga blocks, or even eventually working up to doing oversplits with a chair (shoutout to Serchmaa Byamba of Mongolian contortion fame who was the first one who showed me that insane variation…).
Really the sky’s the limit!
Just remember to listen to your body as you go along. Pain = NO GO. Hard blockage/limit = NO GO. Experiment with slightly adjusting the position of your hips, or engaging your muscles whenever you feel a bit stuck and see if that helps you find that productive stretch.
Related Content
Recommended Workshop Recording

Who this workshop recording is for:
Learn to (safely!) push your limits in this straddle and middle split focused workshop where we'll be exploring the fundamentals of *oversplits* to deepen our hip flexibility (and strength) to support wider straddles and flatter (or “beyond” flat middle splits).
Remember - oversplits aren’t just for students who already have flat splits! They can be a helpful training tool for students who are oh-so-close-to-flat but need help getting your hips down that last inch. This 75-minute workshop includes conditioning and active flexibility drills appropriate for students with flat or almost-flat middle splits (and straddle pancakes).
Suggested Prerequisites:
This workshop is recommended for students who already have a flat middle split, or are close to flat (hips 2” or closer to the ground). If your middle splits aren’t quite flat, I’d suggest this "traditional" middle split workshop instead (or if you’re more of a beginner, you may prefer the 45-min starting middle splits workshop)
This 75-minute, follow-along workshop covers:
A thorough warm up to prepare hips for deeper split work
Mobility and conditioning to arm up our hip internal and external rotators - the oft forgotten stabilizers of deep hip flexibility!
Active flexibility exercises to strengthen and stretch the main muscle groups that help with deeper straddle pancakes (hamstrings and hip flexors) and middle splits (adductors and glutes)
Proper block placement and muscle engagement to protect knees when practicing oversplit straddles and middle splits
Required props:
Yoga blocks (at least 2)
A sturdy chair or low table (something you can lean on for balance)
OPTIONAL: a superband or Theraband (two of the conditioning drills you may choose to add a band to, but it is completely optional)
Upon checkout, you will receive a PDF with a link to the workshop recording (Squarespace limits file upload sizes so I can’t actually upload the whole recording here). The recording is for your personal use only, not to be shared with others - thank you!