Wrist Warm Up for Bridges
Wrist Warm Up for Bridges
If you’re new to working on poses like bridges (aka Full Wheel) you may notice that your wrists seem to get tired and worn out long before your arms, shoulders or back. That’s because we rarely do work in our daily lives that stretches our wrists into that 90 degree angle position (or if you have tight shoulders, your wrist angle in a bridge might be even tighter), let alone requires them to support our bodyweight in that position.
Making sure your wrists are warmed up before practicing, as well as adding some conditioning exercises, is a great way to strengthen (and stretch!) your wrists over time so they can support you in your bridge.
Recommended Drills for Warming Up Wrists for Bridges
Obvious disclaimer: stretching should never hurt! If any of these exercises hurt, lean less bodyweight into your hands, or skip the exercise. If you have a pre-existing wrist injury, or chronic wrist pain when stretching, check with your doctor or physical therapist if these exercises are safe for your conditioning program.
Warm Up: Rolling Out Your Wrists
Open Hand Circles
Keeping your fingers spread wide, make some circles with your hands/wrists. Do 5 in one direction, then 5 in the other direction.
Closed Fist Circles
Make a closed fist, with your thumb on the outside, and start to circle your fist/wrists. Do 5 circles in each direction.
Fingers Interlaced
Interlace your fingers and make some circles with your fists. 5 in each direction
Do the Wave
Interlace your fingers and “do the wave” with your arms (making sure to press through your wrists). Do 5 “waves” in each direction
Conditioning: Wrist Circles
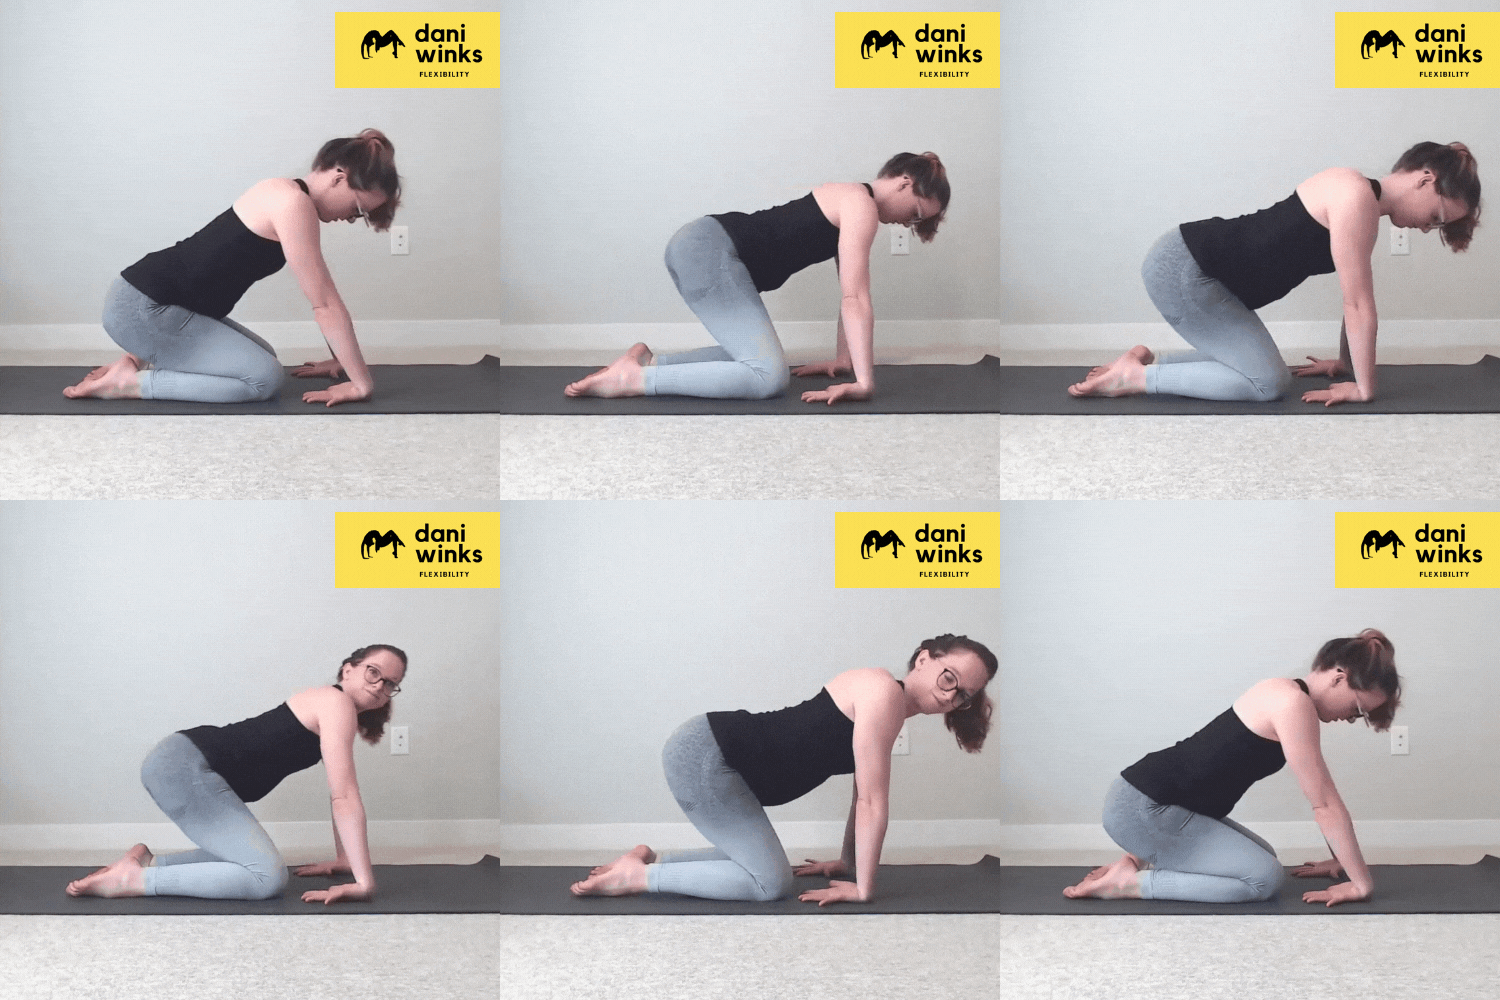
Start with your palms on the floor, and lean your weight over your hands drawing a big circle with your shoulders. Do 3 circles in each direction (clockwise and counter clockwise) in each hand position, then move on to the next hand position. If any of these feel too intense, walk your knees closer to your hands so you can sit more weight into your legs (and dump less weight into your wrists).
Fingers Forwards
Fingers to the Middle (“Bulldog Arms”)
Fingers to the Outside (“Sea Lion Arms”)
Fingers Back Towards Knees
Once you’ve done all your circles with palms facing down, flip your palms over to do a couple of rounds of palms-up circles. These are typically a little harder / more intense, so remember to sneak your knees closer to your hands if you need to take some weight out of your wrists. Do 3 in each direction with each hand orientation.
Fingers Towards Knees
Fingers to the Outside (“Awkward Sea Lion”)
Fingers to the Middle (“Awkward Bulldog”)
Conditioning: Wrist Push-Ups
Now time for the real strengtheners for our bridge-supporting wrists! Both of these exercises help build the muscles in your forearms, wrists, palms and fingers for happy, strong wrists in an extended (stretched) position.
Palm Push-Ups
Start kneeling on all fours, with your palms under your shoulders. Keeping your fingers on the floor, lift your wrists and your palms, then slowly lower with control. You should be leaning enough weight into your hands that these feel like a bit of a challenge! Repeat for 10 palm push-ups. Make them easier: start with your palms closer to your knees. Make them harder: lean a bit farther forward, or slide your palms farther away.
Finger Push-Ups
Start in the same position as for your palm push-ups (on all fours). Leaning some weight into your hands, lift your palm and fingers away from the floor, keeping your fingertips on the ground (it’s OK if your thumb lifts). Repeat for 10 finger push-ups. Make them easier: lean less weight into your hands, or do these leaning into the wall (instead of the floor). Make them harder: lean more weight into your hands.
Follow-Along YouTube Video
If you want an easy-to-follow routine that uses all these exercises, check out this 7-min video:


